Create a Bill
With SplitHappens you can create a bill in just a few steps and split the costs fairly — whether it's a restaurant visit, grocery shopping, or a hotel bill.
The Bill Wizard
Tap the blue New Bill button at the bottom right of the Home screen. The wizard shows you three entry options:
| Option | Description |
|---|---|
| Scan Receipt | AI recognizes items automatically |
| Split Bill | Split costs among friends |
| Single Payment | Record a single expense |
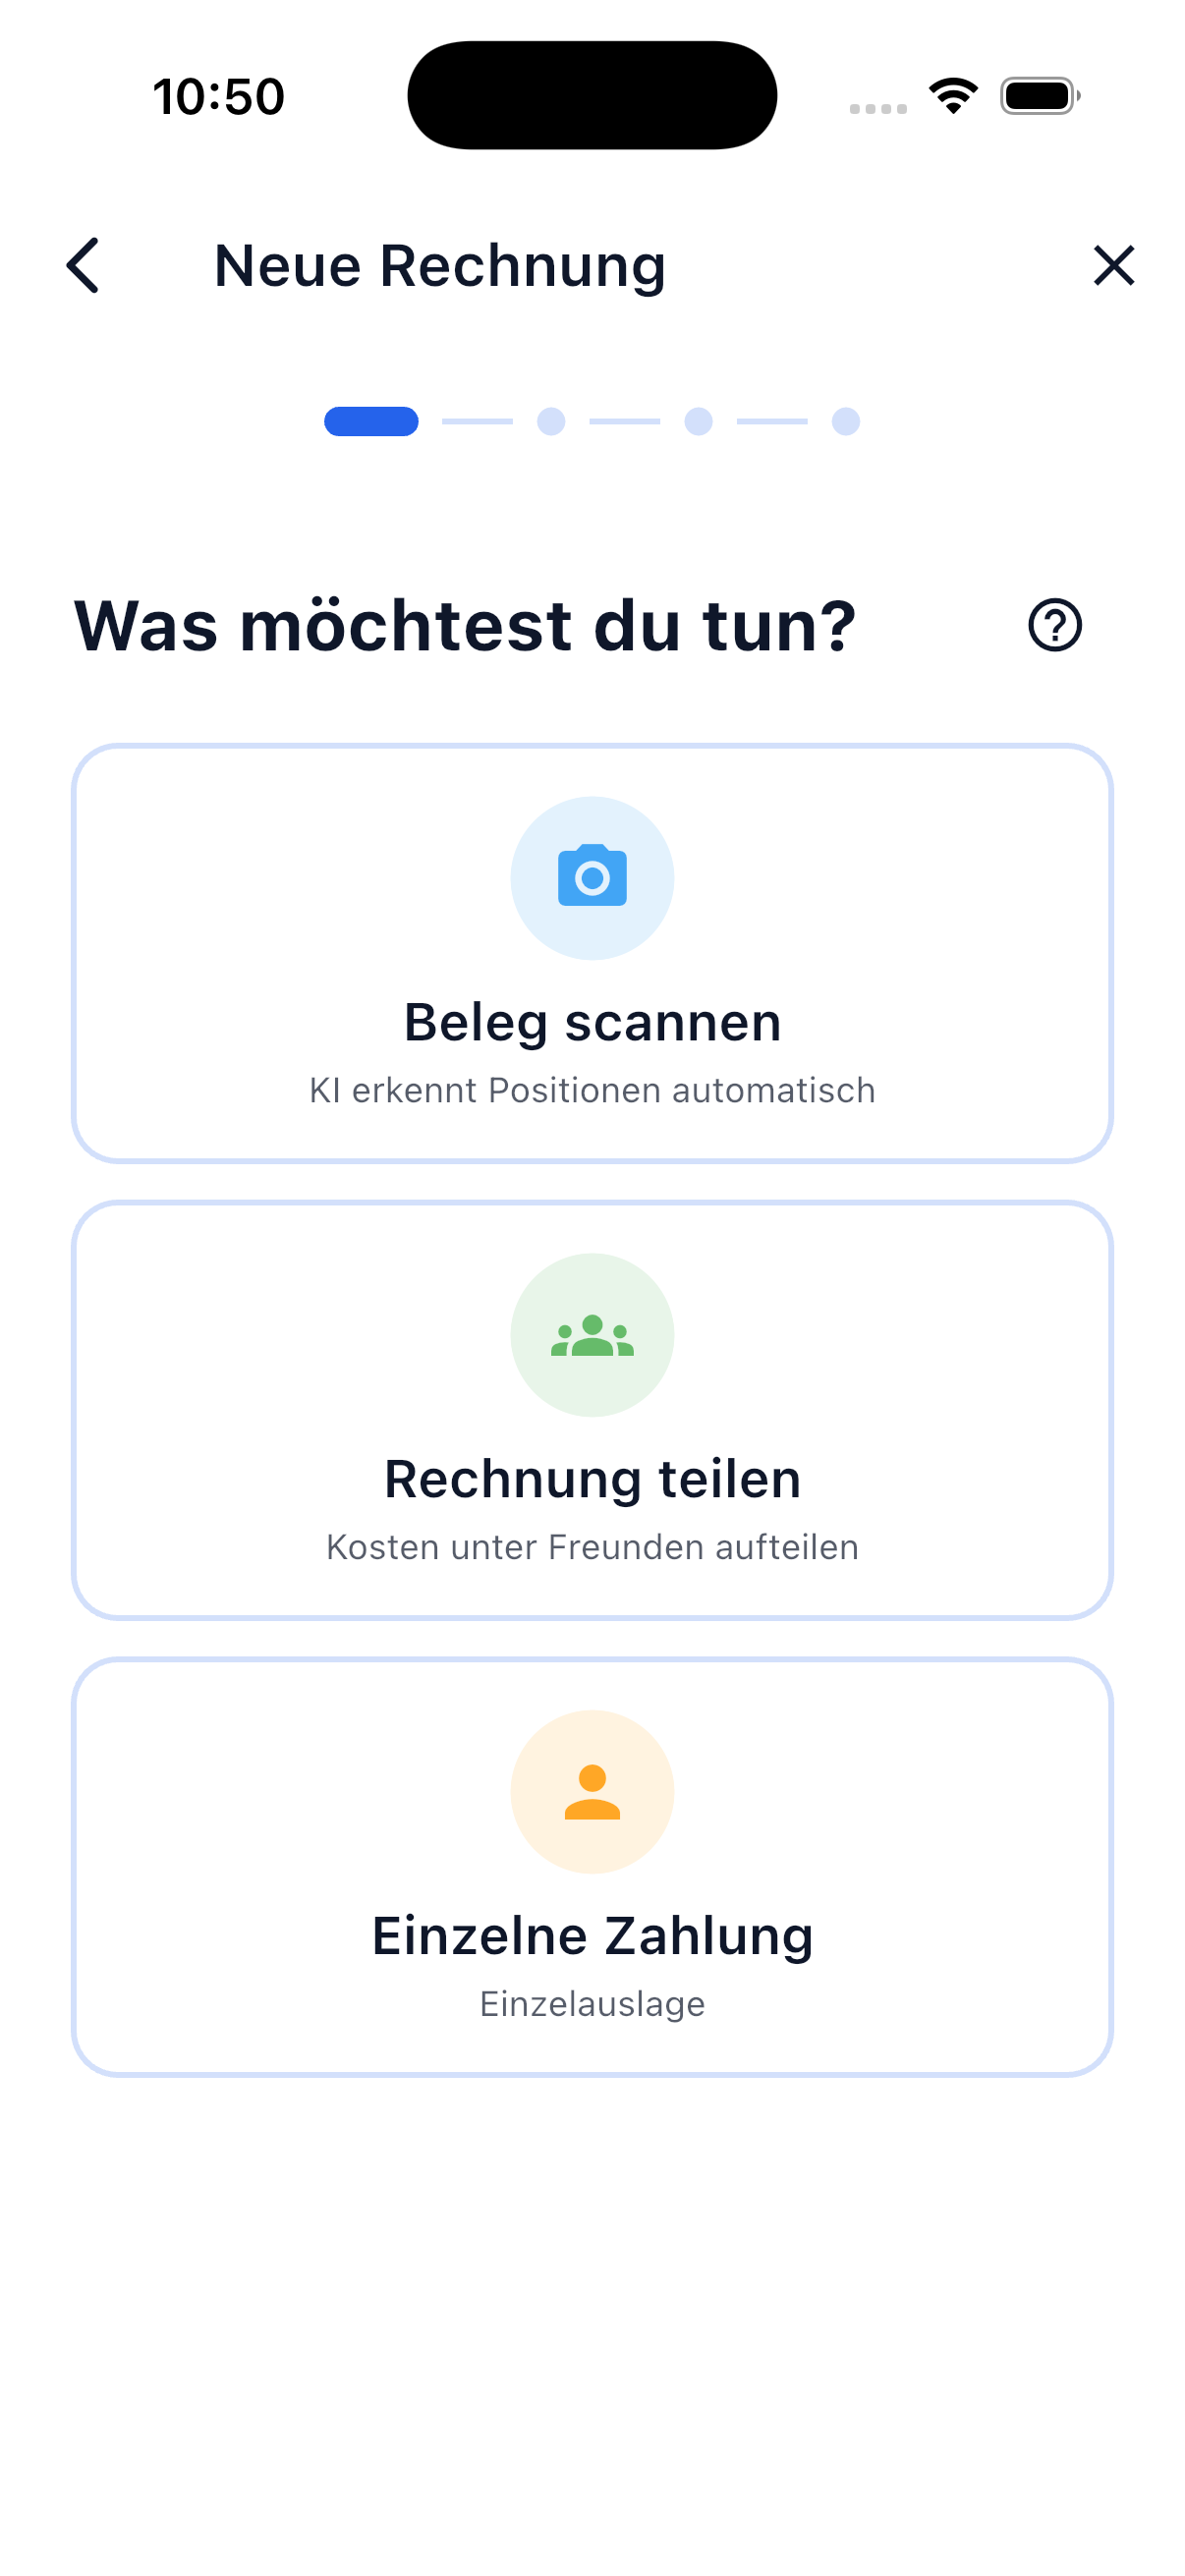
At the top, a progress bar with dots shows your current step. You can always go back to the previous step.
Option 1: Scan Receipt
Photograph your receipt and let the AI do the work. The highlight of SplitHappens — no more tedious manual entry.
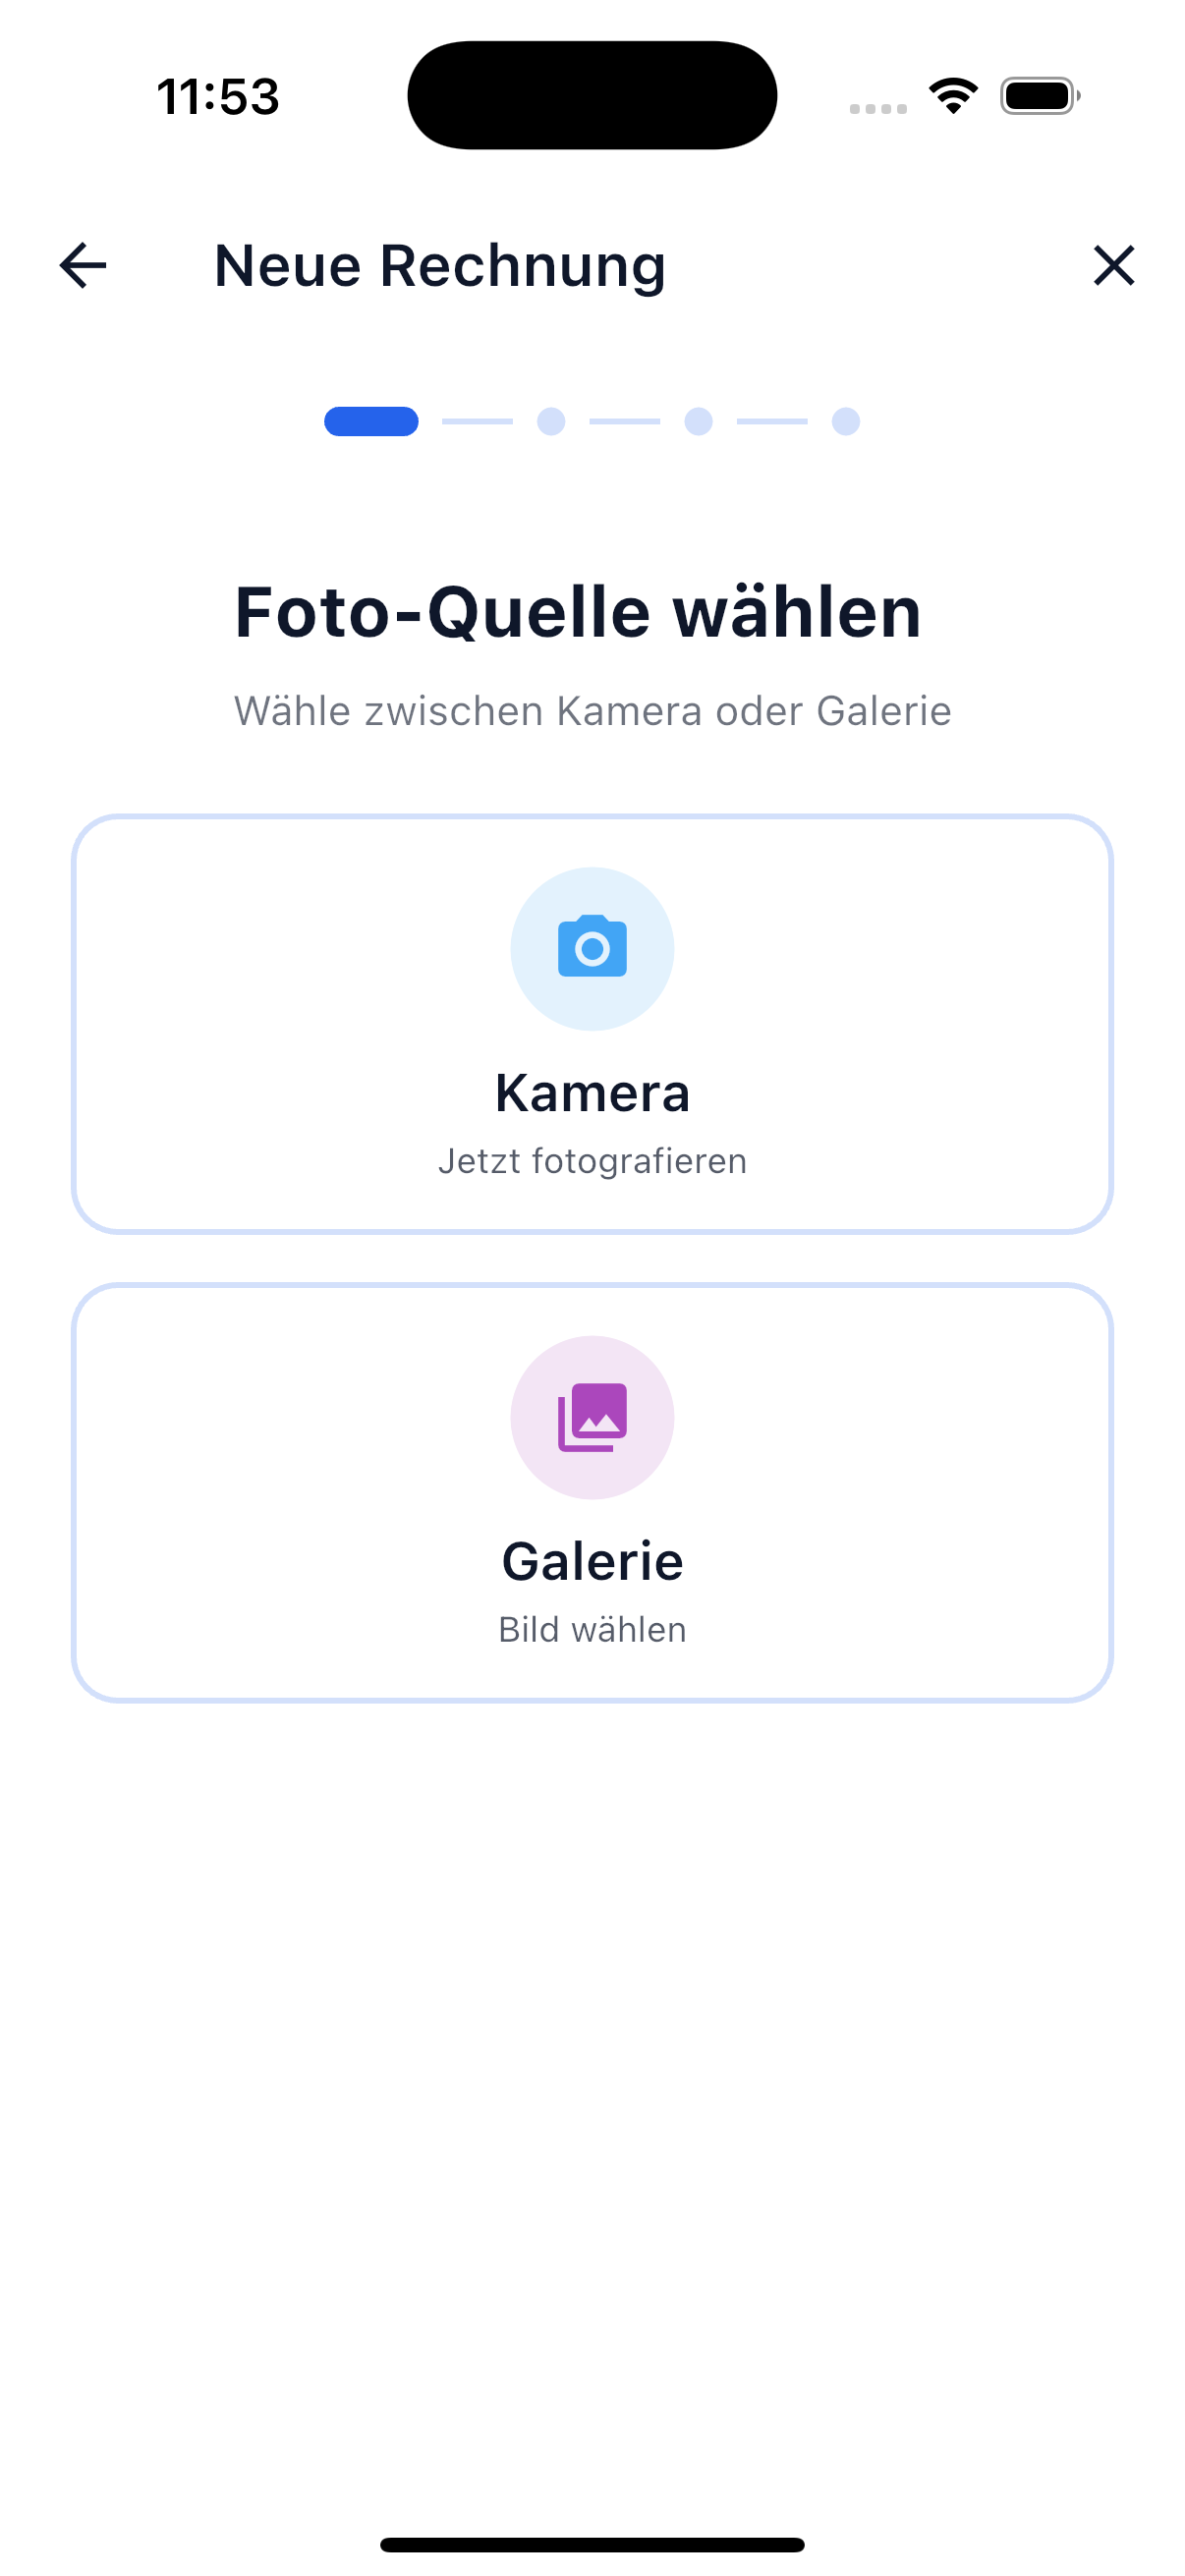
- Select "Scan Receipt"
- Choose: Camera (new photo) or Gallery (existing image)
- Wait briefly while the AI analyzes the receipt
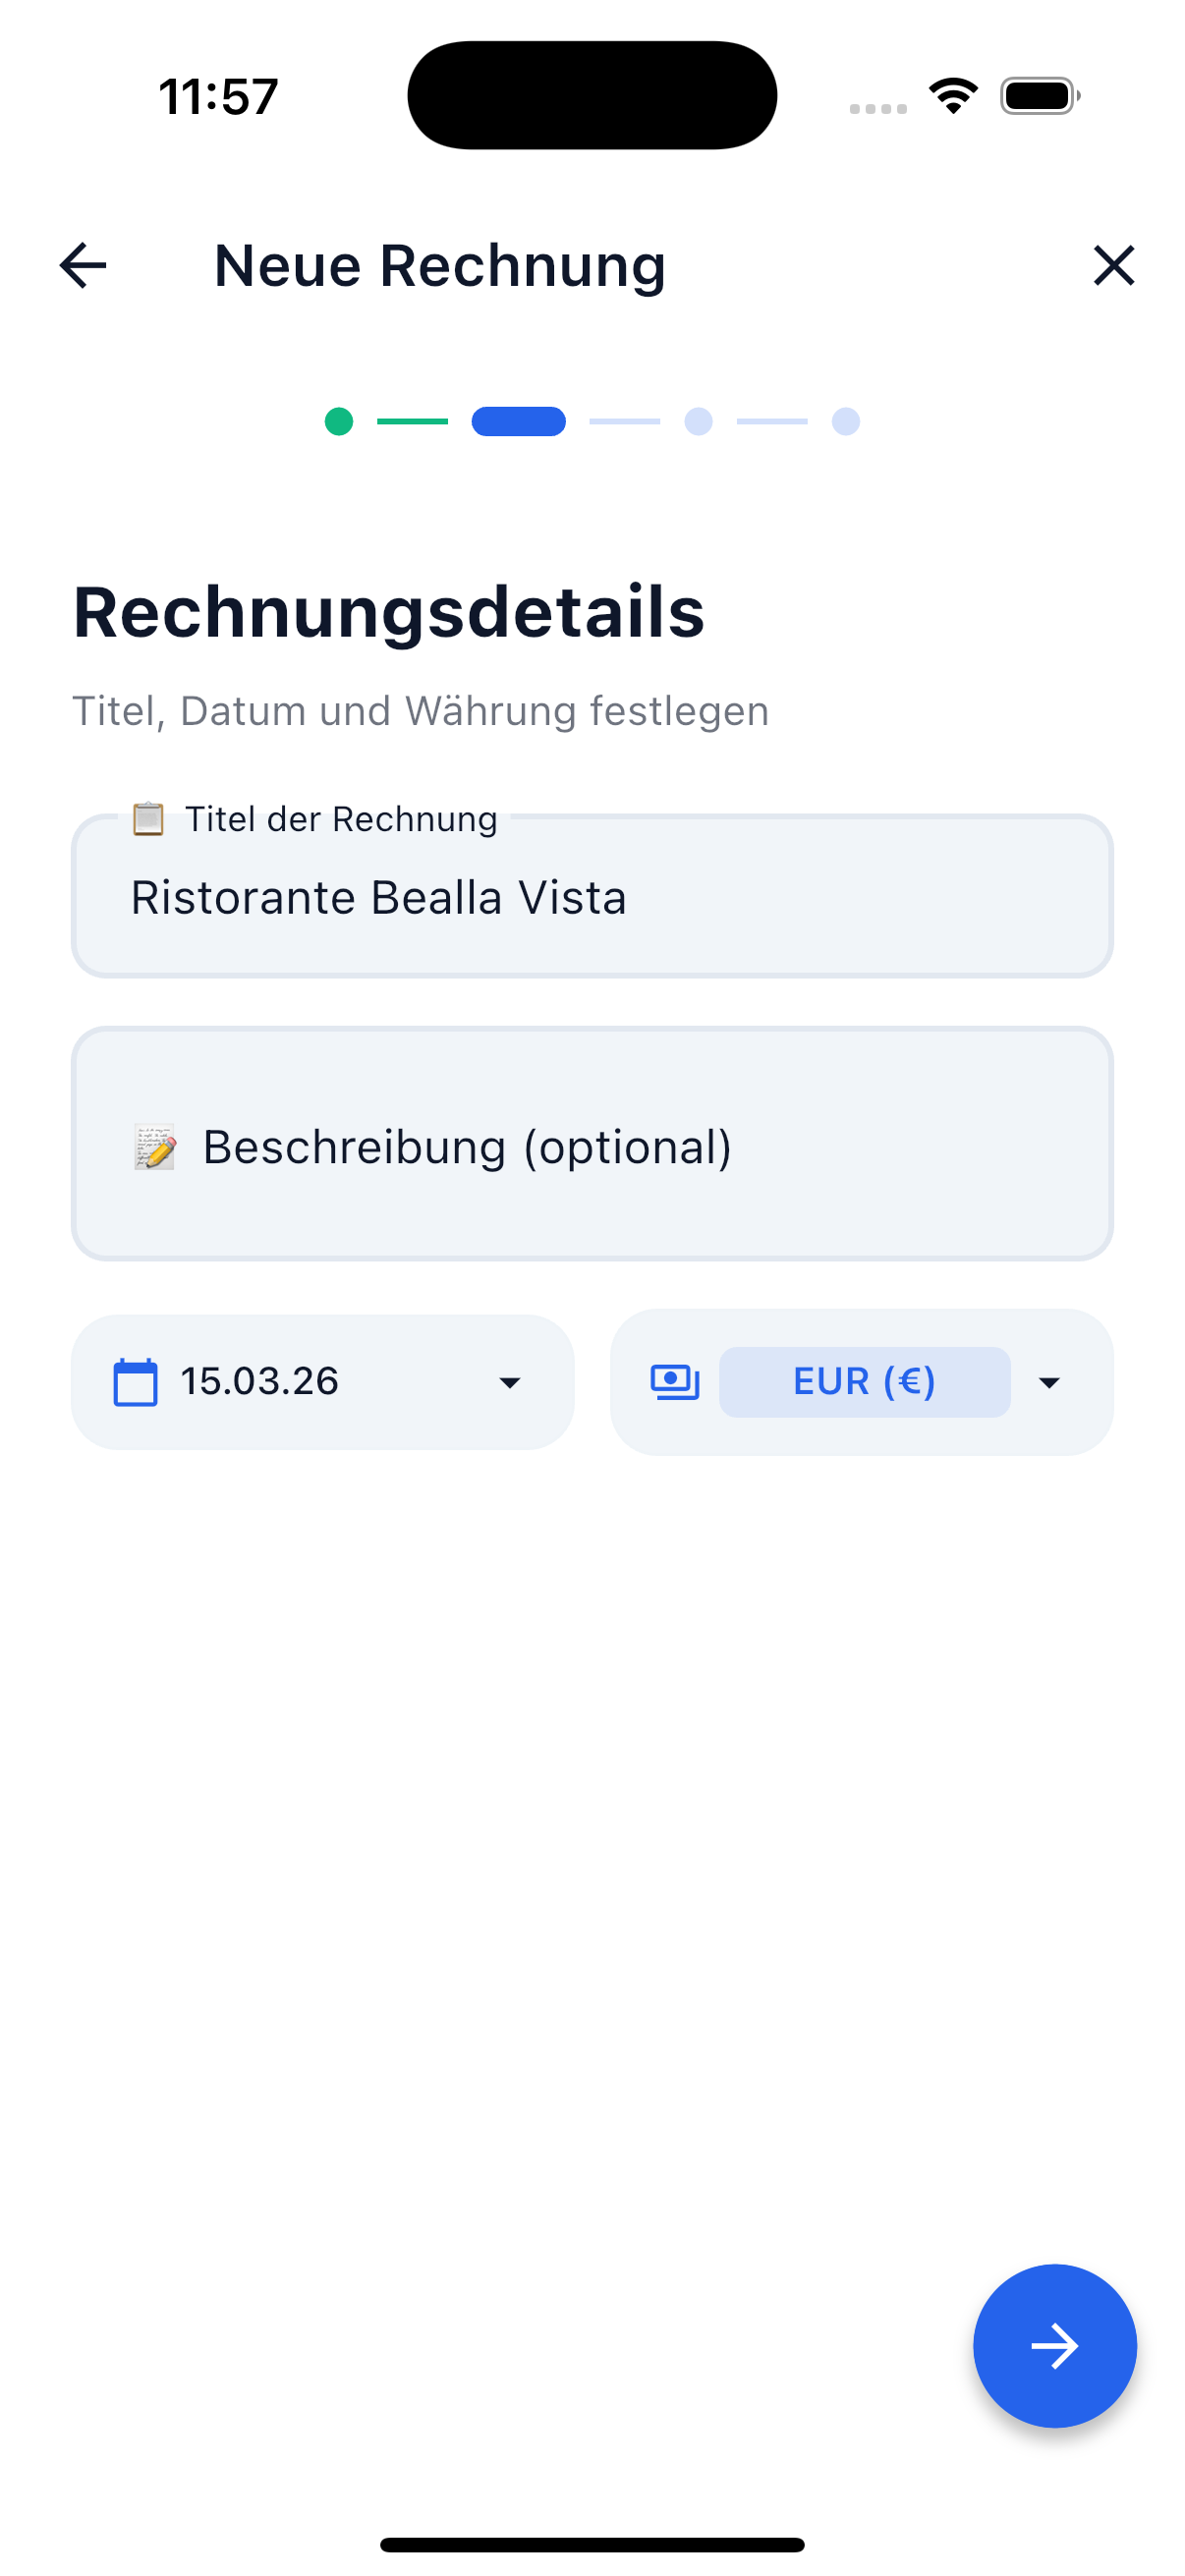
- The recognized basic data (title, date, currency) is automatically pre-filled — review and adjust
- Select participants and payer
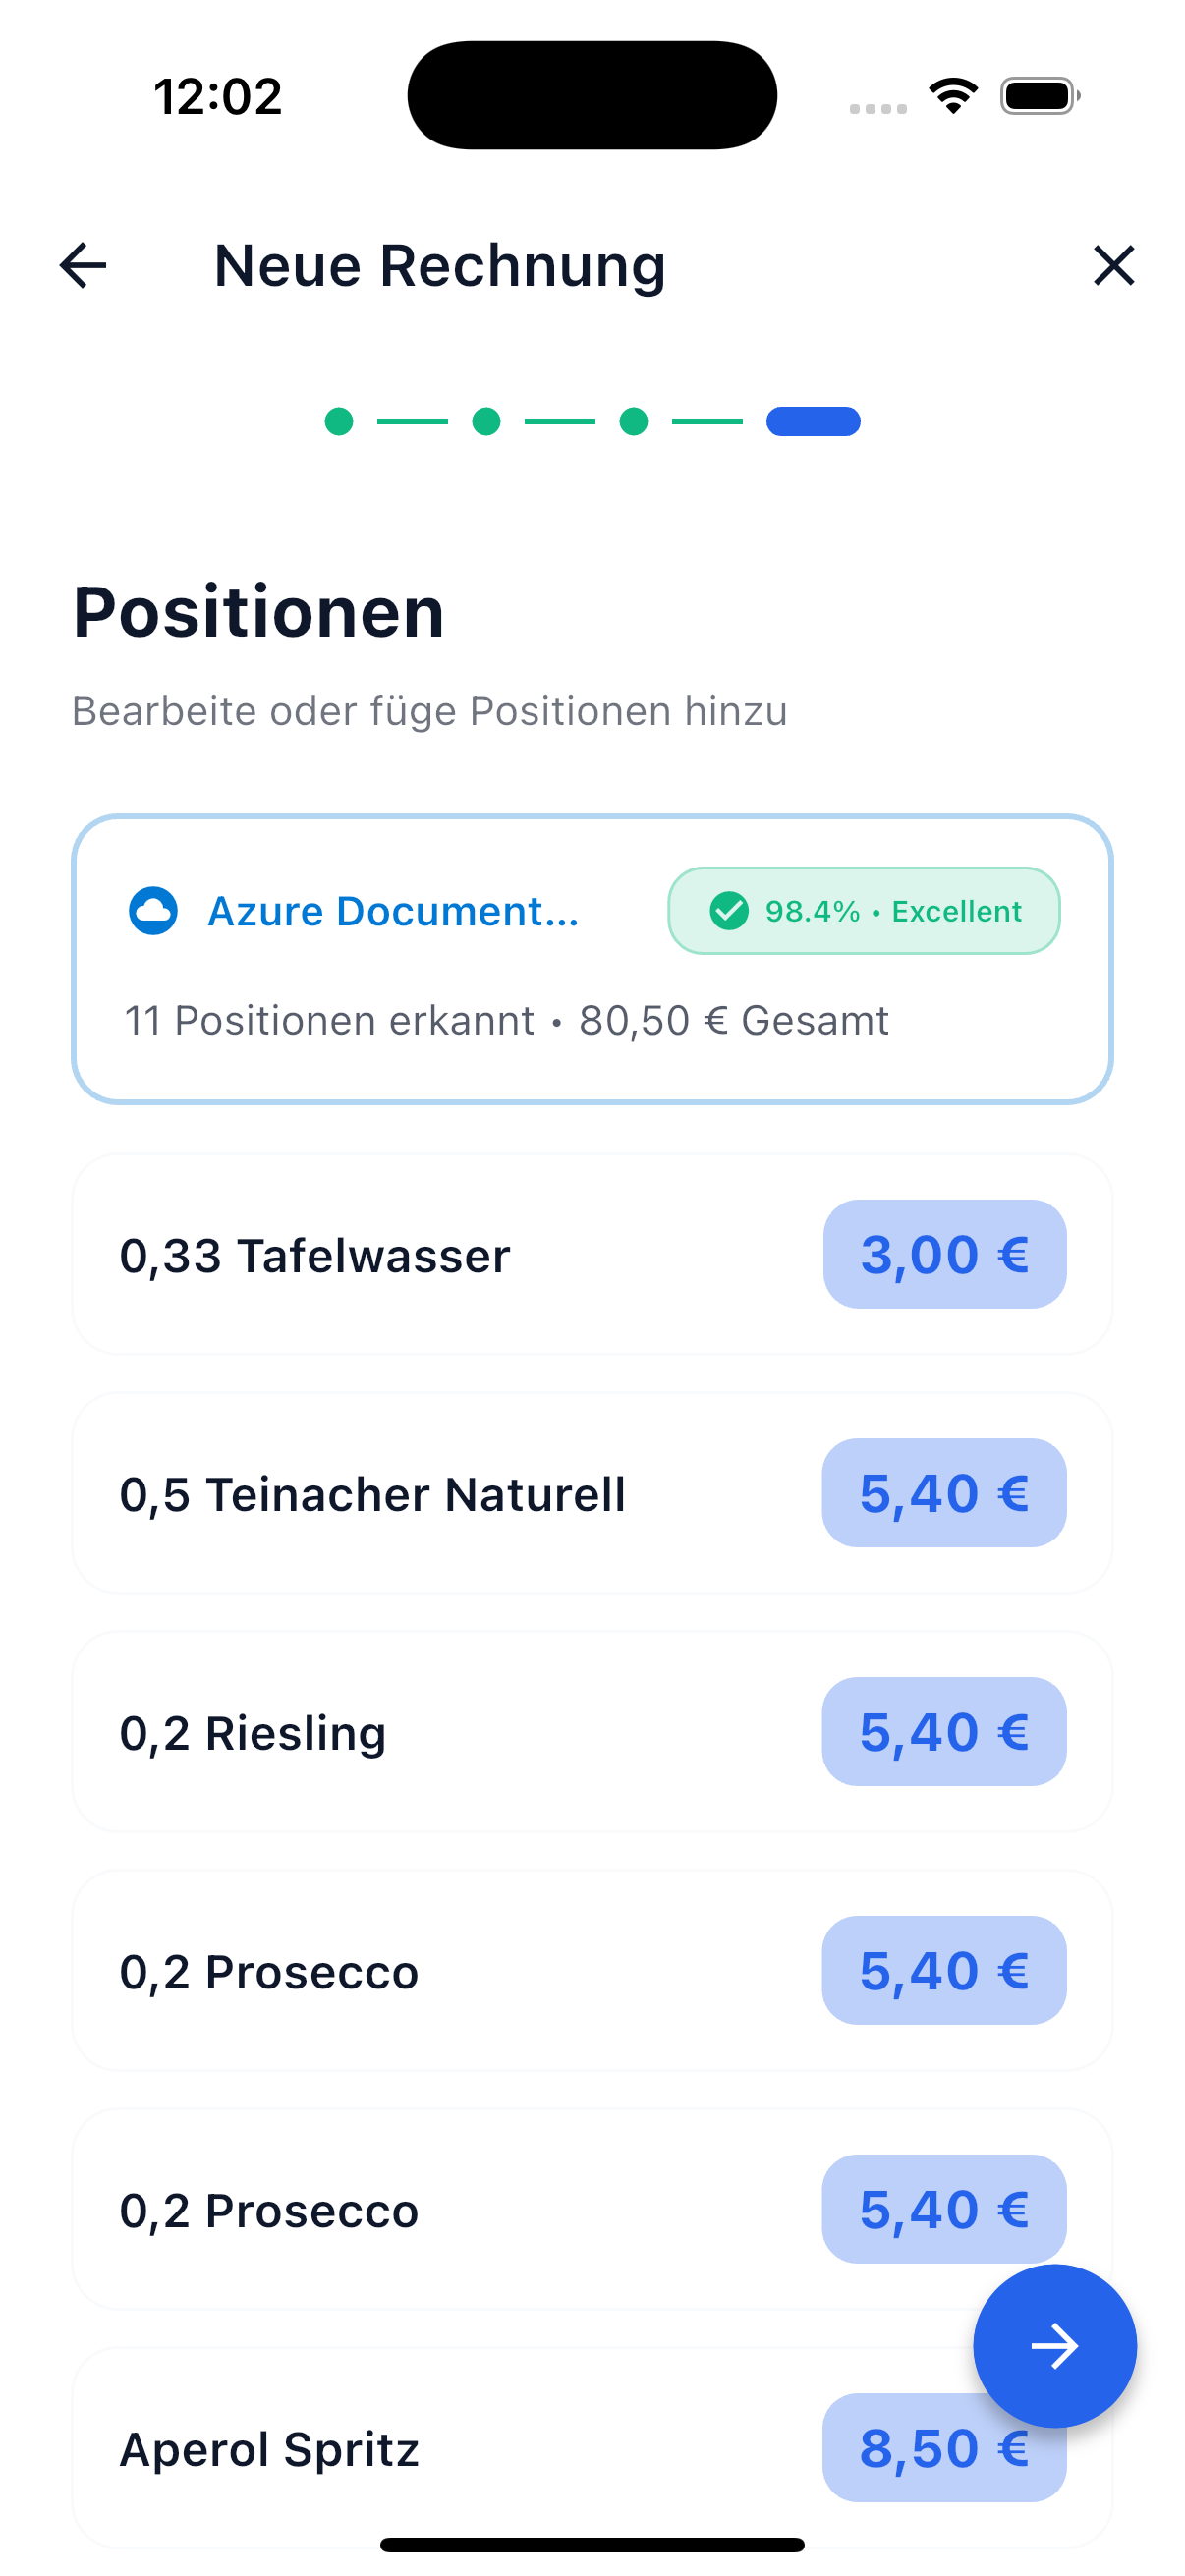
- Review the recognized items — you can edit, delete, or add new ones
- Confirm with the green checkmark button
Best Results
Place the receipt on a smooth, light surface. Ensure adequate lighting and keep the image straight. Make sure the entire receipt is in the frame.
Option 2: Split Bill
The manual way. First choose how costs should be divided:
Choose Split Type
- Split total amount — Enter the total and split it among all participants
- Individual items — Create individual items that can be individually assigned
Enter Basic Data
- Title — Give the bill a descriptive name (e.g., "Pizzeria Da Luigi", "Weekly Groceries")
- Date — Defaults to today, but you can change it
- Currency — Your default currency is pre-selected. You can change it at any time — SplitHappens supports over 150 currencies.
Participants & Payer
Select the people involved in the bill:
Select individual friends from your friends list. You can add multiple friends at once.
Add people who don't have a SplitHappens account. Simply enter a name — the guest is created for the bill.
Set the payer — who paid the bill? By default you're listed, but you can select another participant.
Event Bills
When creating a bill within an event, all event participants are automatically included — you don't need to select them manually. The bill is associated with the event and displays an event badge.
Enter Items / Amount
Enter the total amount and choose the split type:
- Evenly — Everyone pays the same share (e.g., 30 EUR ÷ 3 = 10 EUR each)
- Unevenly — You determine how much each person pays:
- Amounts — Enter fixed amounts per person
- Shares — Split proportionally (e.g., Daniel 2 shares, Emma 1 share)
- Percent — Percentage split via sliders
Example: 30 EUR split among 3 people
- Evenly: Everyone pays 10 EUR
- Shares (2:1:1): Daniel pays 15 EUR, Emma and Lisa each pay 7.50 EUR
- Percent (50%/25%/25%): Daniel pays 15 EUR, Emma and Lisa each pay 7.50 EUR
Create items one by one:
- Tap "Add Item"
- Enter the name of the item (e.g., "Margherita")
- Enter the amount (e.g., 12.50 EUR)
- Repeat for all other items
Adjust Later
You can also add or modify items later in the bill detail view.
Summary & Create
Review the summary and tap the green checkmark button to create the bill.
Option 3: Single Payment
For simple expenses to one person — e.g., "I fronted you 20 EUR for concert tickets."
- Select "Single Payment"
- Choose the recipient (a friend or guest)
- Enter the amount, a description, and optionally the date
- Tap "Save Expense"
The payment is recorded immediately and the balance between you and the recipient is updated.
No Item System
With a single payment, there are no items to assign. The amount is directly attributed to the recipient.
After Creating
Once you've saved the bill:
- The bill appears on your dashboard and for all participants
- Participants receive a notification
- For individual items: items can now be assigned
- The balance is automatically updated
Next Steps
-
Manage Positions
Assign items, split them, or claim your share.
-
Bill Details
Edit bills and keep track of everything.