Registration & Login
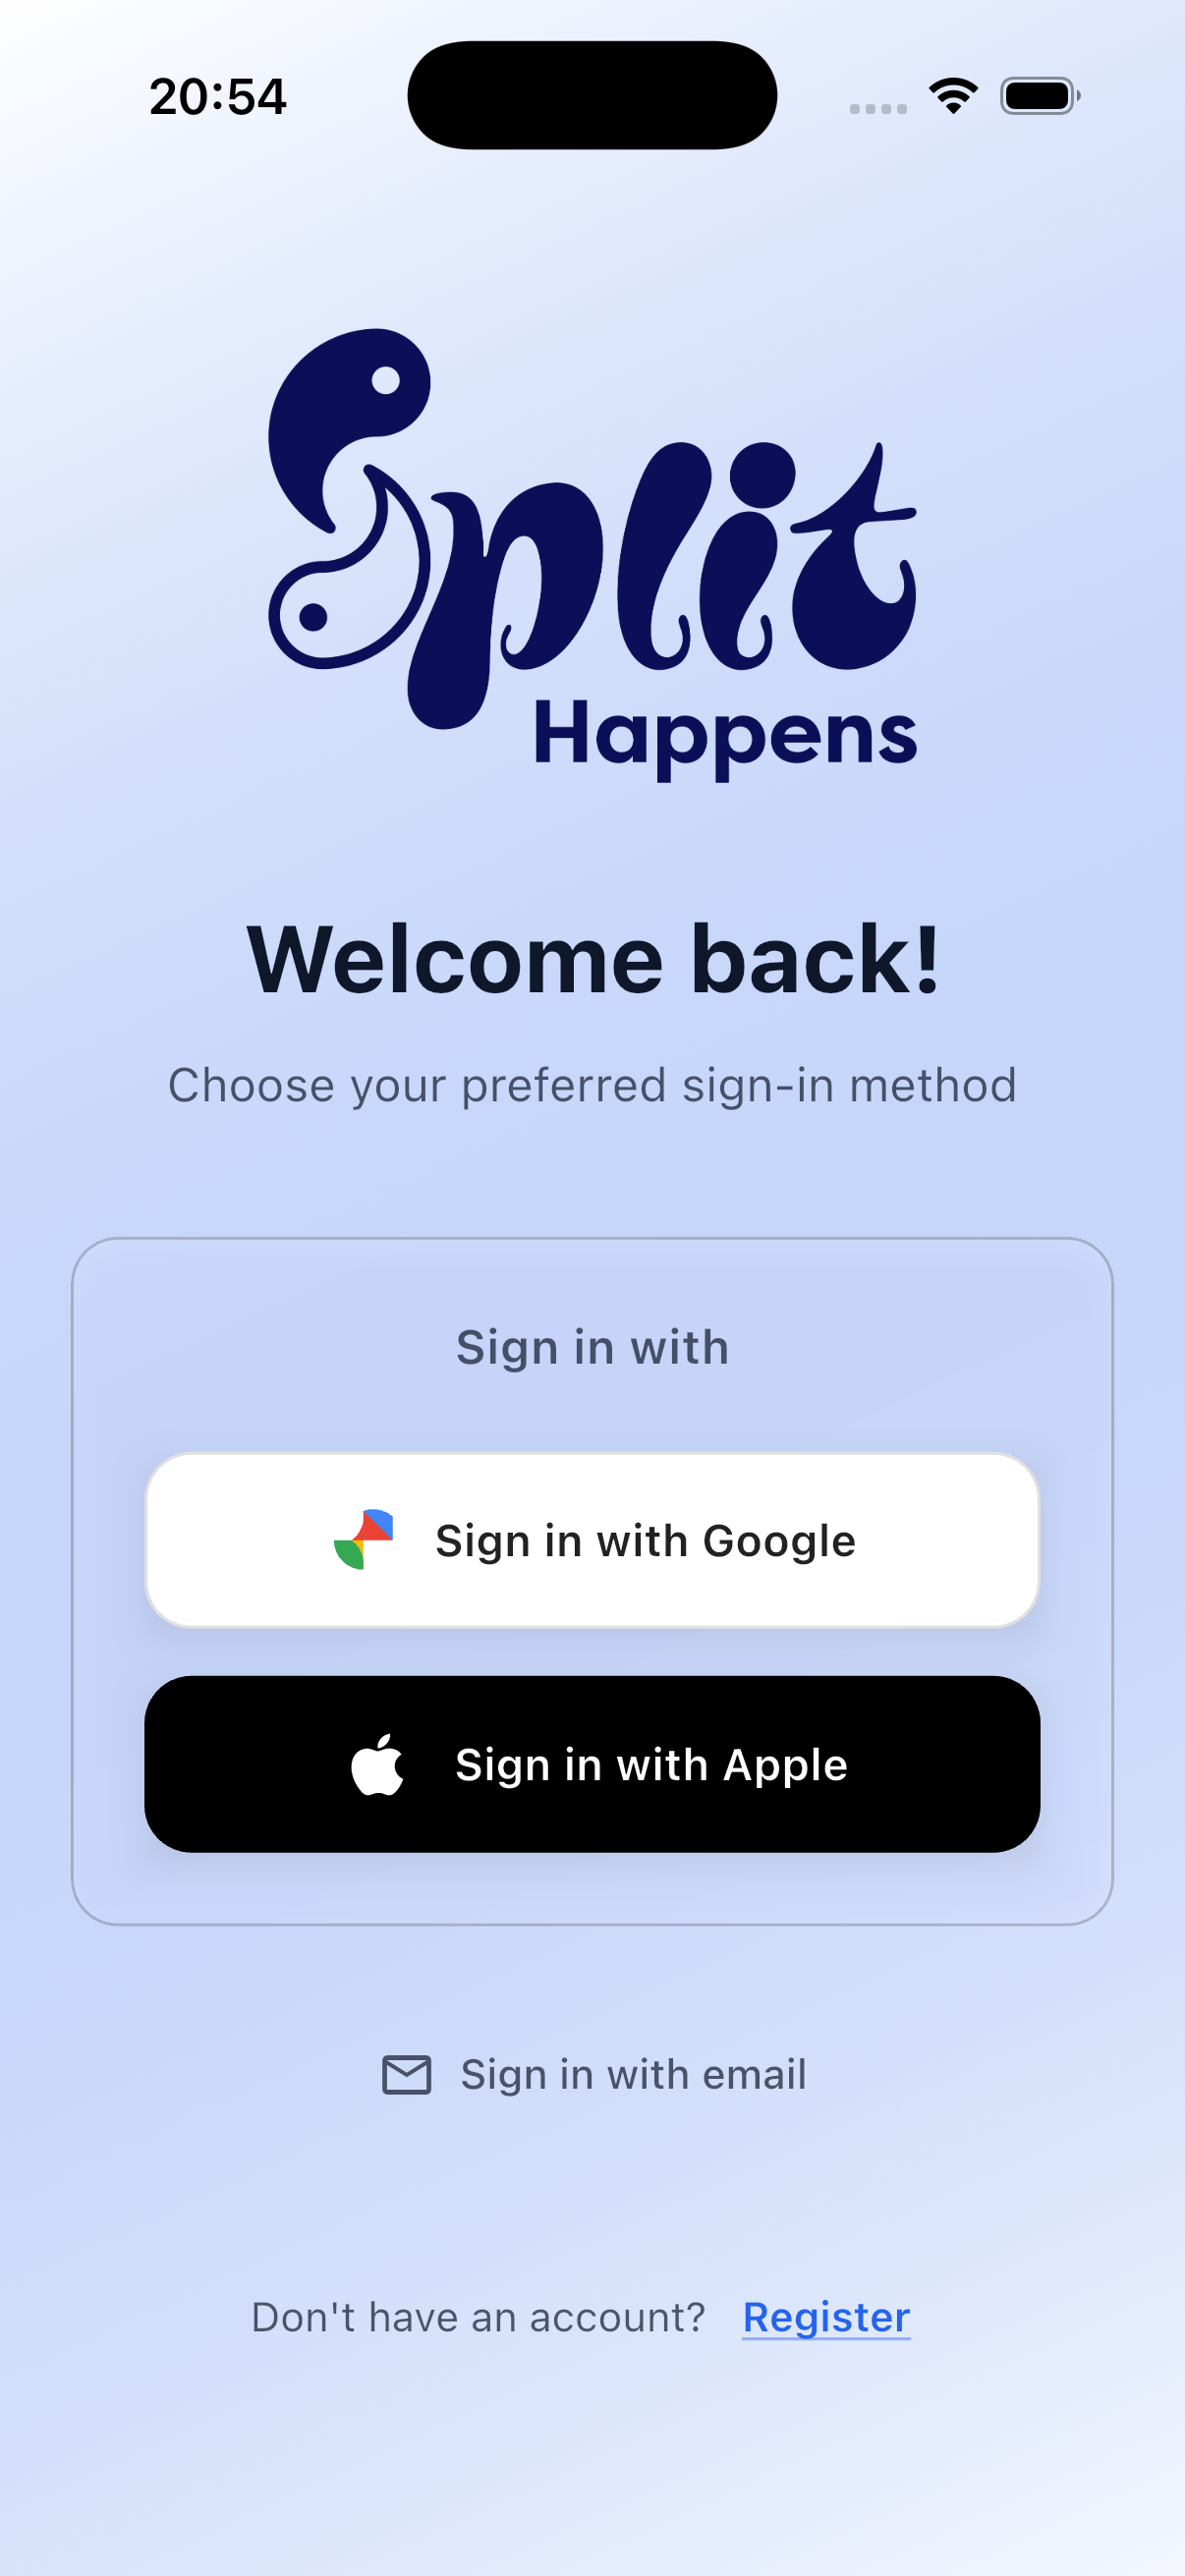
You can sign in to SplitHappens in three ways: with email and password, with your Google account, or with your Apple ID.
Create an Account
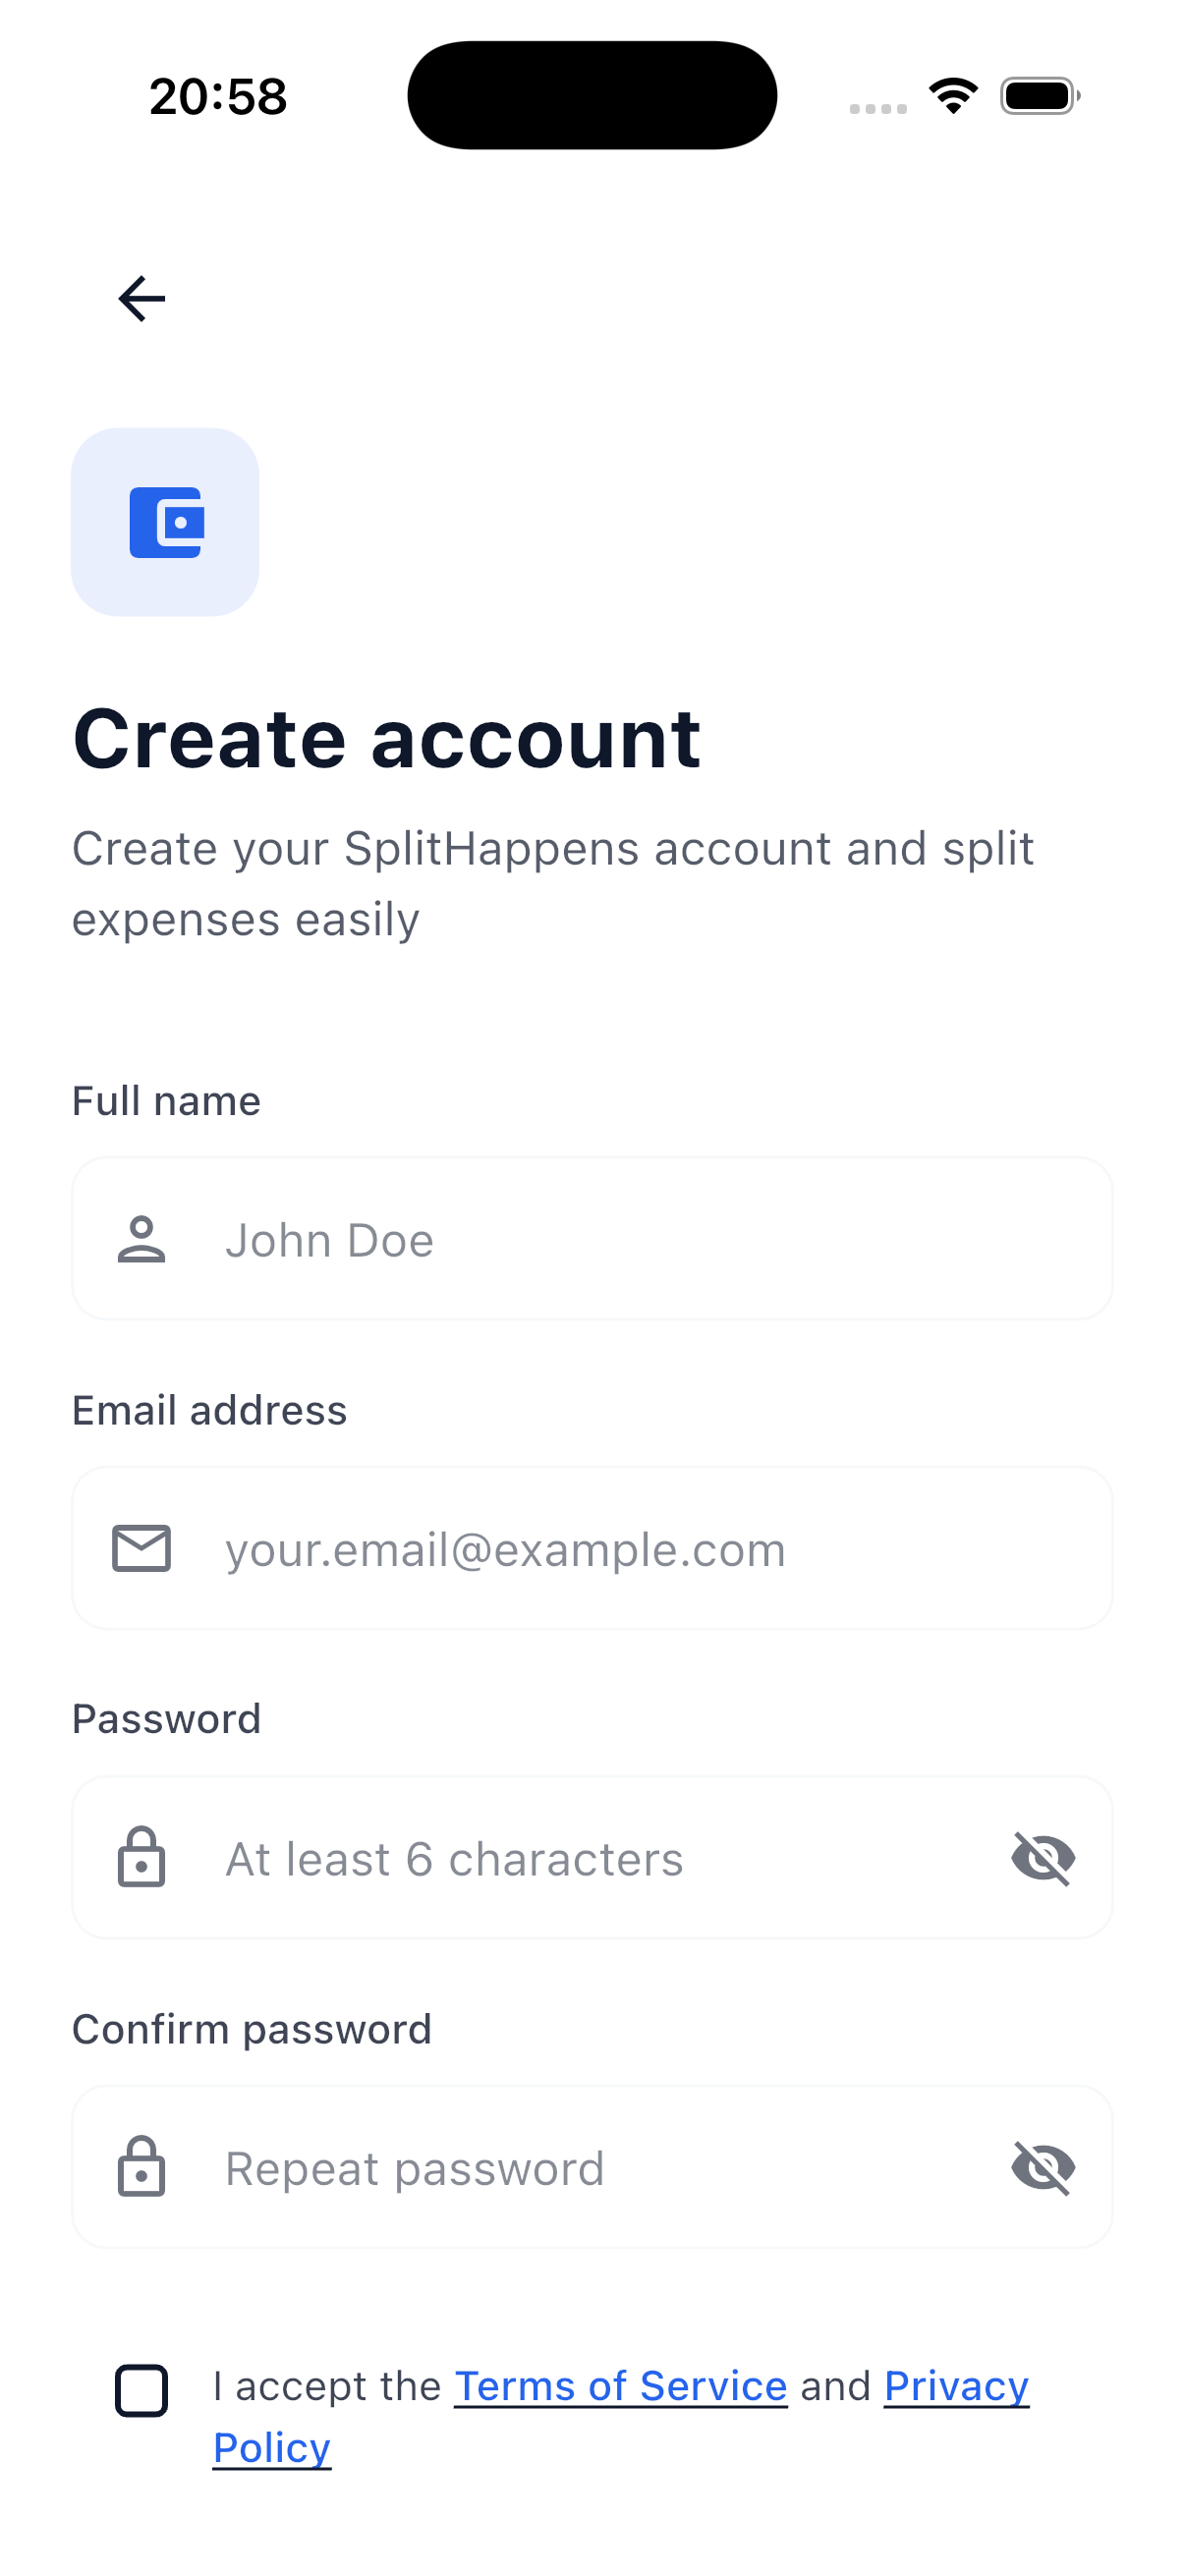
Option 1: Email & Password
- Open SplitHappens and tap Register
- Enter your name, email address, and a password (at least 6 characters)
- Confirm the password by entering it again
- Accept the Terms of Service and Privacy Policy via the checkbox
- Tap Create Account
- Check your email inbox and confirm your email address via the link in the confirmation email
Password Tips
Use a password with at least 8 characters that combines letters, numbers, and special characters. A password manager can help with this.
Social Login & Terms
Even when registering via Google or Apple, you must accept the Terms of Service and Privacy Policy. The social login buttons only become active once the checkbox is checked.
Option 2: Sign in with Google
- Tap Sign in with Google
- Select your Google account or sign in
- Confirm the permissions
- Done — you'll be automatically logged in
What Is Shared?
SplitHappens only receives your name and email address from Google. We have no access to your Google password or other data.
Option 3: Sign in with Apple
- Tap Sign in with Apple
- Confirm with Face ID, Touch ID, or your device passcode
- Choose whether to share your email address or use a private relay address
- Done — you'll be automatically logged in
Private Email Address
Apple offers the option to use a random relay address. This keeps your real email address private. Messages from SplitHappens will still be forwarded to you.
Onboarding — Up and Running in 5 Steps
After registration, a setup wizard guides you through the essentials in five short steps. Every step can be skipped and revisited later in your profile — you don't have to decide anything on the spot.
Step 1: Welcome
A greeting with the SplitHappens logo and three short feature highlights:
- Scan receipts — the AI recognizes items automatically
- Assign positions — everyone pays only what they consumed
- Settle fairly — multi-way netting minimizes transfers
Step 2: Your Profile
- Choose your display name — how friends will see you in the app
- Tap the avatar placeholder to upload a custom photo from your gallery. Without a photo, you automatically get an avatar from your initials and a color.
Profile Photo
For best results, use a square image. The app automatically scales it to the optimal size.
Step 3: Personalization
One step covers two things at once:
- Currency — the default currency for your bills and your balance. EUR, USD, GBP, CHF and more are directly selectable. Tap "Show all" to reach all 150+ supported currencies.
- Appearance — pick Light, Dark or System. The choice takes effect immediately.
Step 4: Add Friends
SplitHappens shows you your personal invitation QR code and the matching link:
- Copy — put the link on your clipboard
- Share — send it directly via messenger, email or AirDrop
This step is optional — you can always invite later from the Friends tab.
Step 5: Ready!
A final screen with three tips to get started:
- Photograph your first receipt and let the AI do the work
- You can invite friends any time from the Friends tab
- Payment methods and notifications live in the settings
Tap "Let's go" and you land straight on your dashboard.
Everything Can Be Changed Later
All settings from the onboarding can be adjusted at any time under Profile > Settings. Payment methods and push notifications live in the settings — you add them when you actually need them, they're not part of the setup wizard.
Sign In (Existing Account)
If you already have an account:
- Open SplitHappens
- Tap Sign In
- Enter your email address and password — or use Google / Apple
- You'll be taken directly to your dashboard
Forgot Password?
If you've forgotten your password:
- Tap Forgot Password? on the login screen
- Enter your registered email address
- Tap Send Link
- Check your email inbox (including spam!) and click the reset link
- Choose a new password
Link Not Received?
Check the spam or junk folder of your email inbox. The link is valid for 24 hours. If you don't receive an email, make sure you entered the correct email address.
Sign Out
To sign out of SplitHappens:
- Go to the Profile tab (bottom right)
- Scroll down and tap Sign Out
- Confirm the sign-out
Your data will be preserved. When you sign in again, you'll find everything as you left it.
Delete Account
If you want to permanently delete your account:
- Go to the Profile tab
- Open Settings (gear icon)
- Scroll down and tap Delete Account
- Read the overview of which data will be deleted (profile, bills, events, friendships, files)
- Check the confirmation checkbox ("I understand that this action cannot be undone")
- Tap Permanently Delete Account and confirm in the dialog
After deletion, you'll be automatically signed out and receive a confirmation email.
Export Data First
Before deleting your account, you can download a copy of your data under Profile > Export Data. This gives you a backup of your bills and expenses.
Warning: Irreversible
Deleting your account will permanently remove all your data — including profile, bills, events, friendships, and uploaded files. You should settle any open debts beforehand. This action cannot be undone.