Guests Without an Account
Sometimes you split bills with people who don't have a SplitHappens account — for example when dining with acquaintances or at a party. That's what the guest feature is for.
Create a Guest
Guests are created via the participant selection screen. You can access it when creating or editing a bill or event.
Option 1: Via Search
- Open the participant selection screen (when creating/editing a bill or event)
- Tap the search field "Search friends or guests..."
- Enter the person's name
- Tap "Add as Guest"
- The guest appears as a participant with a "Guest" badge
Option 2: Via Guest Management
- Open the participant selection screen
- Scroll to the Guests section and tap "Manage Guests"
- Create a new guest with a name
- The guest is then available for selection
Guests automatically get their own avatar color so they're easily recognizable in the bill.
Manage Guests
Guests can be managed in two places:
- In the participant selection screen — Via the "Manage Guests" link in the Guests section
- In the Friends tab — Your guests are also displayed there and can be edited or deleted
Properties
- Reusable: Once created, guests can be reused on additional bills and events. You don't need to create them each time.
- Custom avatar color: Each guest has an individual color for their avatar to visually distinguish them from other participants.
- Creator manages: As the guest's creator, you have management rights and can change the name or delete the guest.
Remove a Guest
Positions Are Preserved
When you remove a guest from a bill, all their positions are released (back to "Open") — not deleted. The released positions can then be reassigned. A confirmation dialog appears before removal.
Assign Positions
Guests work exactly like regular users for position assignment:
- You can assign positions to guests
- Guests can share positions with other participants (split)
- The owed amount is calculated correctly
Note
Since guests don't have their own account, they cannot assign positions themselves. You handle the assignment for them.
Convert a Guest to a Real Account
When a guest becomes a regular contact, you can send them a personal invitation link. The guest then creates their own SplitHappens account, and all their existing debts and bills are automatically transferred to the new account — without you having to re-enter anything.
How to send the invitation link
You can reach the guest link from several places in the app — no matter which one you pick, the recipient always sees the same overview of all open debts.
From a bill:
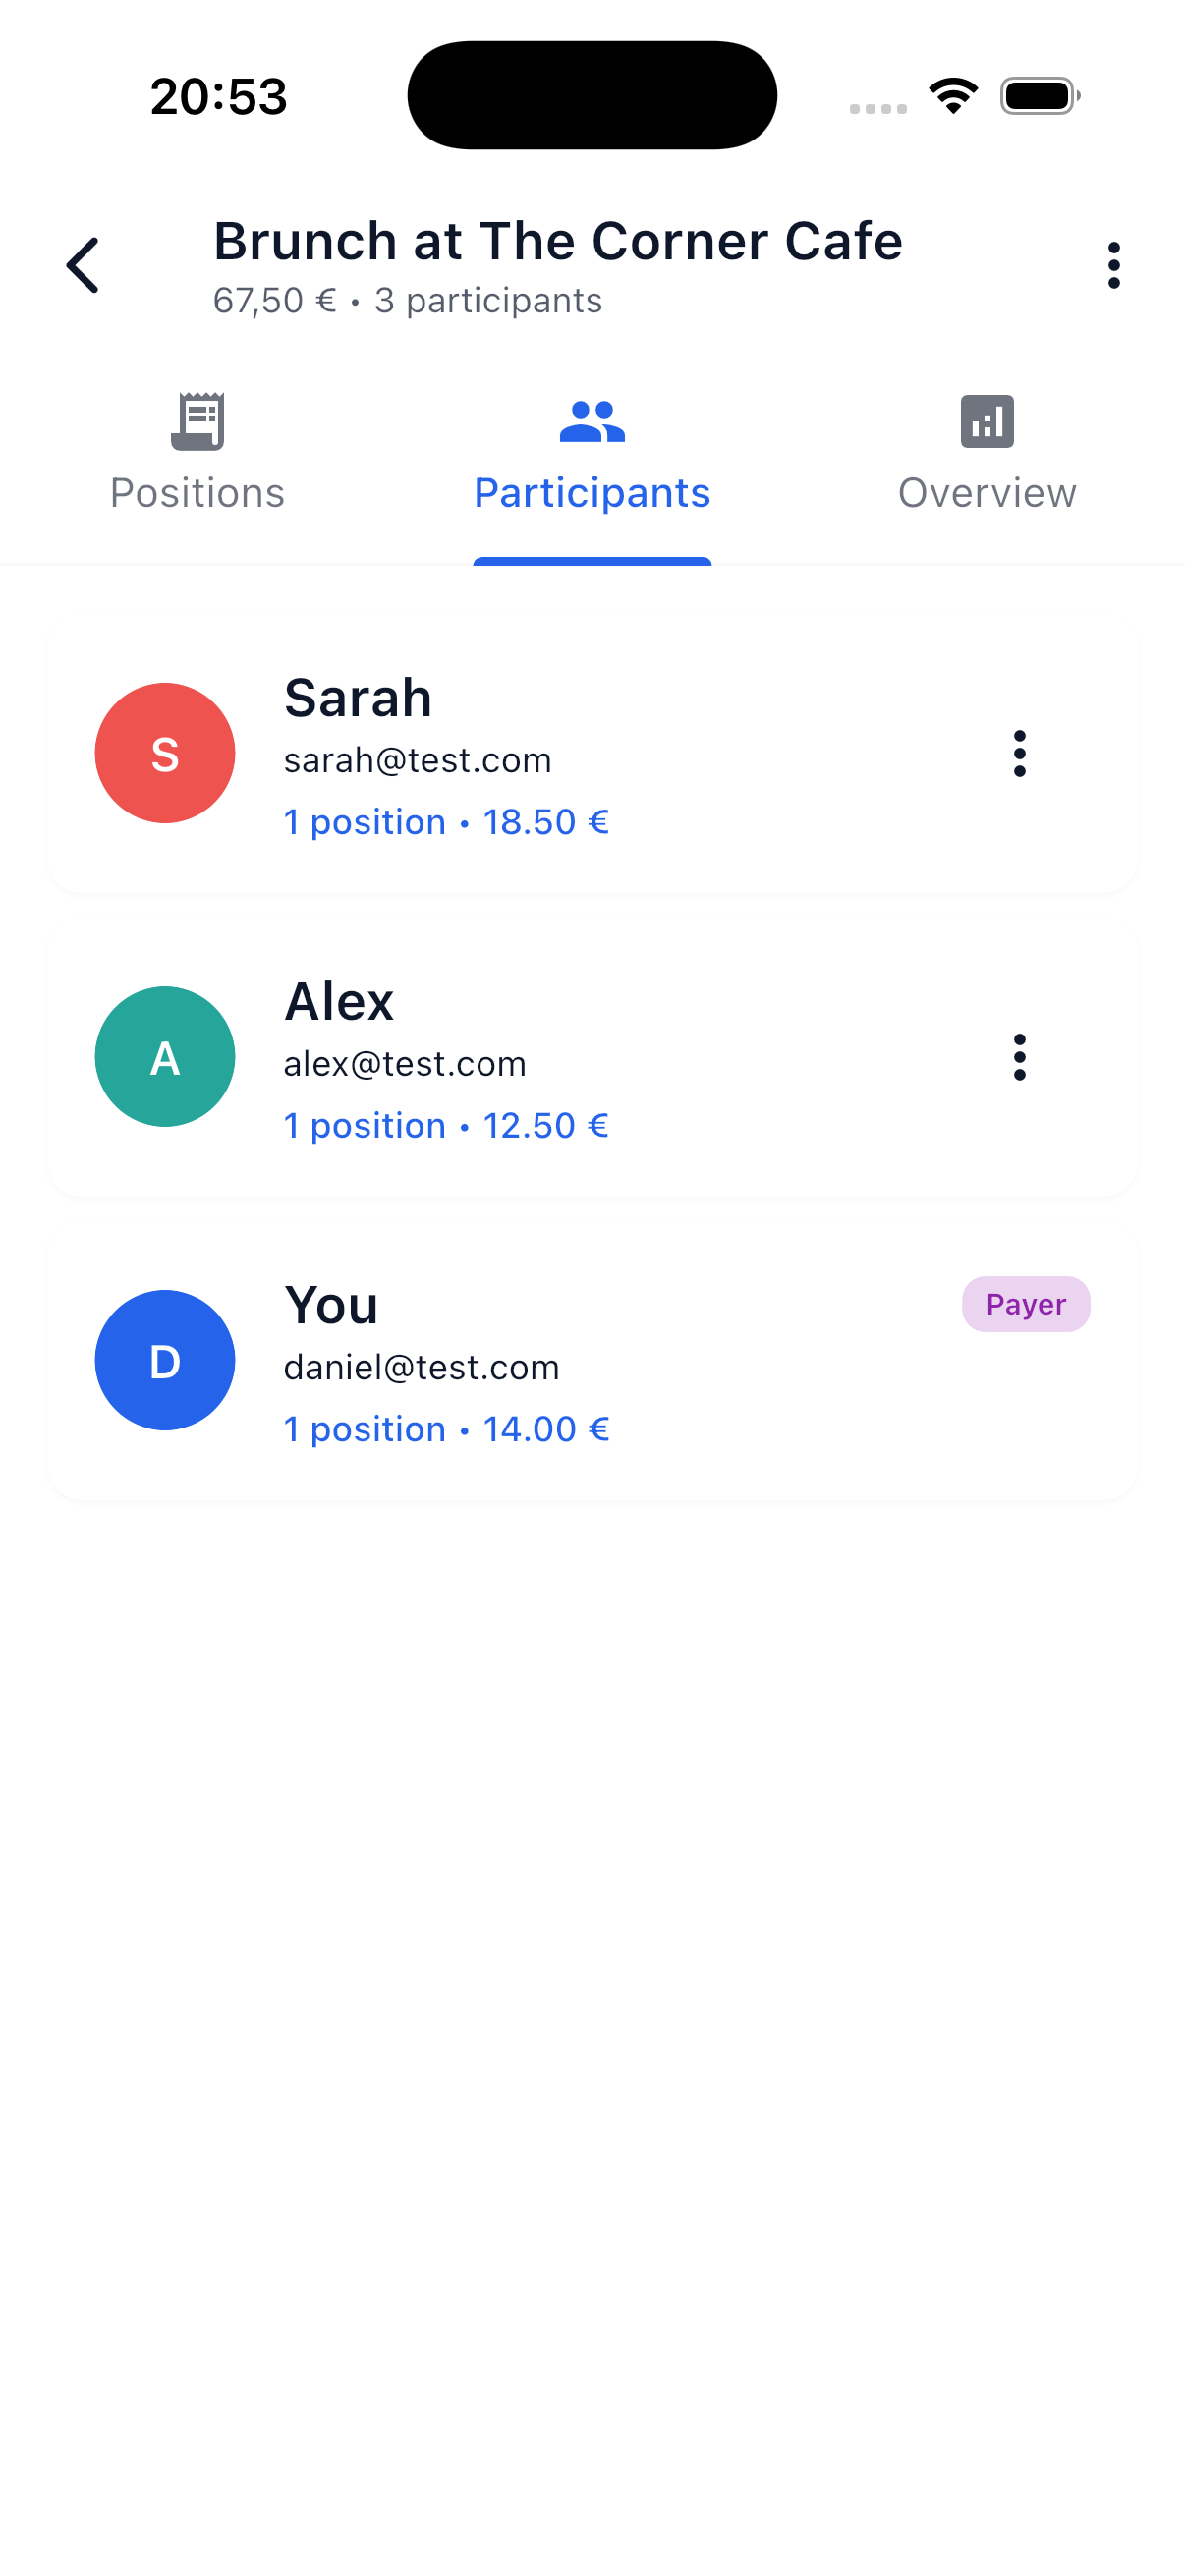
- Send icon directly next to the guest (✈️ arrow icon) in the participant list — the fastest path when you have a specific guest in mind.
- 3-dot menu in the top right → entry "Share guest link". If the bill has several guests, a small picker opens so you can tap the right recipient.
From an event:
- When editing participants — every guest has a send icon next to their name.
- From the event overview — tap a guest in the participant overview and choose "Share guest link" from the action sheet that opens. No edit mode required.
From the guests overview (Friends tab):
- Share icon in the top right of the guest detail page — that's the direct path to the web link.
- Alternatively, the action area below has a "Send debts as text" button if you'd rather send a formatted debt list instead of a link (e.g., as a WhatsApp reminder with amounts per bill).
Which link is the right one?
No matter where you generate the link — the recipient always sees all their open bills and events on a single page. You don't need to worry about whether you're sending it from a specific bill or a specific event.
What the recipient sees
When your guest opens the link, they land on a friendly overview page with:
- A personal greeting with their name and avatar
- Total amount of their open debts at the top
- Friend bills with the individual positions
- One section per event showing the bills and a recommended settlement
- If you owe the guest something: a "Money you'll receive" section
- At the bottom, a "💳 Here's where you pay" summary block — one line per recipient, cleanly grouped. If your guest owes money to several people (e.g., to you from a friend bill and to Tom from an event), the amounts appear side by side, each with its own payment methods (PayPal, IBAN). No duplicate buttons — if the same person is the recipient multiple times, the amounts are added together automatically.
- A "Create account & take over" button for sign-up — collapsed by default so the page doesn't feel overloaded. The sign-up form only appears once your guest taps the button.
Showing payment options
For your guest to see a PayPal button or an IBAN copy helper directly in the overview, you need to add your payment methods in your profile beforehand (Profile → Payment methods). Otherwise, only a "Please clarify directly" hint appears.
How the takeover works
The recipient has two paths:
If they don't have the app yet (e.g., on a computer):
- On the overview page in the browser, enter email and password → "Create account & take over"
- A confirmation email is sent to the address they entered
- Click the confirmation link → account is activated
- Install the SplitHappens app on their phone and log in with email + password
- At the first app login, all bills are transferred automatically — they see everything immediately on the home screen
If they already have the app installed:
- Clicking the link opens the app automatically
- If they're not yet logged in, they see the login screen with a banner reminding them about the takeover (with your guest's name and the open amount)
- They tap "Create account & take over", register, and confirm their email
- At the first login, the data is transferred automatically
Email confirmation is required
Confirming the email address is necessary so that nobody can misuse other people's email addresses. If the confirmation email doesn't arrive, the recipient may have made a typo — in that case, simply register again.
What changes after the takeover
After a successful takeover, several things happen automatically:
- All debts, bills, and event participations move to the new account
- You automatically become friends with the new user — no separate friend request needed
- The guest disappears from your guests list in the friends overview (the former entry stays in the database for audit purposes but is no longer visible to you)
- The invitation link becomes invalid and cannot be reused for a second takeover
- The new user can immediately assign positions, create bills, and use all features
Link validity
The invitation link is valid for 30 days. If the guest doesn't respond in that time, you can generate a new link at any time — the old one becomes invalid in the process.
If the takeover doesn't work
If the recipient clicks the confirmation link in the email but no bills appear at the app login, they can simply log in again in the app — the takeover is automatically retried at login. This catches typical issues like accidentally double-clicking the confirmation link.
When to Use Guests?
Tip
Use guests for one-time situations — for example when someone spontaneously joins dinner. For regular shared expenses, it's worth having the person create their own account. The guest takeover makes the transition seamless.
| Situation | Recommendation |
|---|---|
| One-time dinner with an acquaintance | Create a guest |
| Regular apartment expenses | Own account |
| Friend without their phone | Create guest, takeover later |
| Vacation group with casual guests | Create a guest |